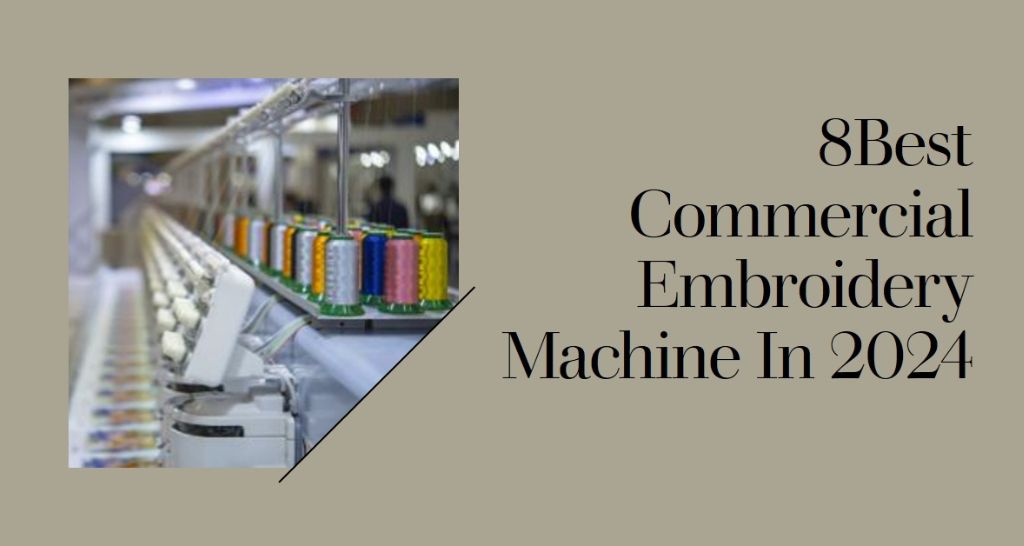
8 Best Commercial Embroidery Machine In 2024: In-Depth Guide and Reviews
In this guide, we explore the top 8 commercial embroidery machines of 2024, providing an in-depth analysis and reviews to aid your decision. Catering to various business sizes and budgets, our selection is based on efficiency, precision, ease of use, and customer feedback. We’ll highlight key features, pros, cons, and expert insights, ensuring you find the perfect machine to meet your business goals and creative needs in the ever-evolving world of commercial embroidery in 2024. Want Best Machinery For Your Digitizing Project? Experience the difference of professional-grade digitizing equipment & improve efficiency and accuracy with our top-of-the-line machinery. Get Free Quote Now What is a Commercial Embroidery Machines A commercial embroidery machine is a specialized device designed for high-volume, professional custom embroidery work. Unlike standard or home embroidery machines, commercial models are built for more rigorous, continuous operation and often feature advanced capabilities. Here are some key aspects: High Speed and Efficiency: These machines operate at higher speeds compared to home models, allowing for quicker completion of large orders. Multiple Needles: They often have multiple needles (sometimes over ten), each threaded with a different color. This setup enables quick color changes without manual rethreading, ideal for complex, multi-colored designs. Larger Embroidery Area: The embroidery area in commercial machines is usually larger, accommodating bigger designs and allowing work on various garment sizes and types. Robust Construction: Designed for continuous use, these machines are built with durability in mind to withstand the demands of a commercial environment. Advanced Features: They often come equipped with advanced features like touch-screen interfaces, detailed design editing software, and automatic thread trimming. Versatility: Commercial embroidery machines can handle a wide range of materials and garment types, from delicate fabrics to thick items like jackets and bags. Connectivity and Integration: Many modern machines offer options for network connectivity and integration with design software, streamlining the production process. Investment and ROI: They are a significant investment compared to home models but offer a higher return on investment (ROI) for businesses due to their efficiency and productivity. 2024’s Top 8 Commercial Embroidery Machines 1. Smartstitch S-1501 Commercial Embroidery Machine The Smartstitch S-1501 is a stellar option for entrepreneurs venturing into the embroidery business. This machine is equipped with 15 needles and offers a maximum speed of 1200 SPM. It features a 12″ touchscreen, Wi-Fi connectivity, and a large 14″x20″ embroidery area. Its standout attributes include laser positioning, automatic color change, and a comprehensive starter pack, making it a versatile choice for various materials. Pros Expansive embroidery area suitable for large projects. High needle count and speed significantly boost productivity. Advanced features like laser positioning ensure precision and quality. In-depth training and robust technical support enhance user experience. Cons The investment may be steep for small businesses or startups. Complexity of features might require a learning curve for beginners. Highlights Ideal for Starting an Embroidery Business 15 Needles & 1200 SPM Speed 12″ Touchscreen & Wi-Fi Capability Large 14″x20″ Embroidery Area Laser Positioning & Automatic Color Change Comprehensive Starter Pack Included 2. Janome MB-4Se Four-Needle Embroidery Machine The Janome MB-4Se is a compact yet powerful four-needle machine that excels in versatility. It works seamlessly with most embroidery formats, including professional ones. The machine is compatible with six industry-standard Tajima hoops and four Janome hoops, expanding creative possibilities. It features 50 built-in designs, 10 fonts for monogramming, and a maximum embroidery size of 9.4″ x 7.9″. Its USB and editing functions add to its user-friendly nature. Pros Supports a wide range of embroidery formats for versatility. Compact design makes it ideal for smaller workspaces. The inclusion of multiple hoops and designs fosters creativity. User-friendly interface with USB connectivity for easy design transfer. Cons Limited to four needles, which may reduce efficiency for larger projects. Smaller embroidery area compared to larger commercial machines. Highlights Four-Needle Professional Machine 50 Built-In Designs & 10 Monogramming Fonts Compatible with Industry-Standard Hoops Maximum Embroidery Size: 9.4″ x 7.9″ USB Connectivity & Editing Functions Ideal for Small Businesses and Personal Use 3. Baby Lock Array 6 Multi Needle Embroidery Machine The Baby Lock Array is a six-needle machine that combines power and innovation for an unparalleled embroidery experience. It features a high-definition touchscreen as the control center, allowing for quick design edits and immediate embroidery start. With 126 built-in designs and multiple features like a crosshair positioning laser, this machine is designed to turn creative visions into reality. Its ease of use makes it suitable for both beginners and experts. Pros The six-needle system enhances efficiency for multi-color projects. High-definition touchscreen offers intuitive control and design editing. Large embroidery field accommodates bigger projects. Features like the crosshair laser improve design placement accuracy. Cons Higher price point might be a barrier for some users. Six needles may still limit production speed for very high-volume businesses. Highlights Six-Needle Embroidery Machine Large Embroidery Field: 7-7/8″ x 11-3/4″ High-Definition Touchscreen Control 126 Built-In Designs & 50 Fonts Crosshair Positioning Laser for Precision Suitable for a Range of Skill Levels 4. Brother Persona PRS100 Single Needle Free Arm Embroidery Machine The Brother Persona PRS100 is a uniquely designed single needle embroidery machine, known for its free arm capability. This feature makes it exceptionally good for embroidering hard-to-reach areas. The machine boasts a 3.6″ x 6.0″ LCD display, 260,000 color capability, and a range of built-in languages. It’s designed for both simplicity and efficiency, with features like automatic thread cutting, advanced needle threading, and customizable embroidery settings. Pros Free arm capability for embroidering on difficult spots. Large, color-rich LCD display enhances user interaction. High versatility with numerous built-in designs and fonts. Automatic features streamline the embroidery process. Cons Single needle limits the speed for multi-color designs. May not be ideal for high-volume, large-scale productions. Highlights Single Needle with Free Arm Capability 3.6″ x 6.0″ LCD Display with 260,000 Colors 405 Built-In Embroidery Designs 20 Size-Adjustable Embroidery Lettering Fonts Advanced Automatic Features Ideal for Personal Use and Small Projects 5. Juki Tajima Sai 8 Needle Embroidery Machine The Juki Tajima Sai is an 8-needle
8 Best Commercial Embroidery Machine In 2024: In-Depth Guide and Reviews Read More »